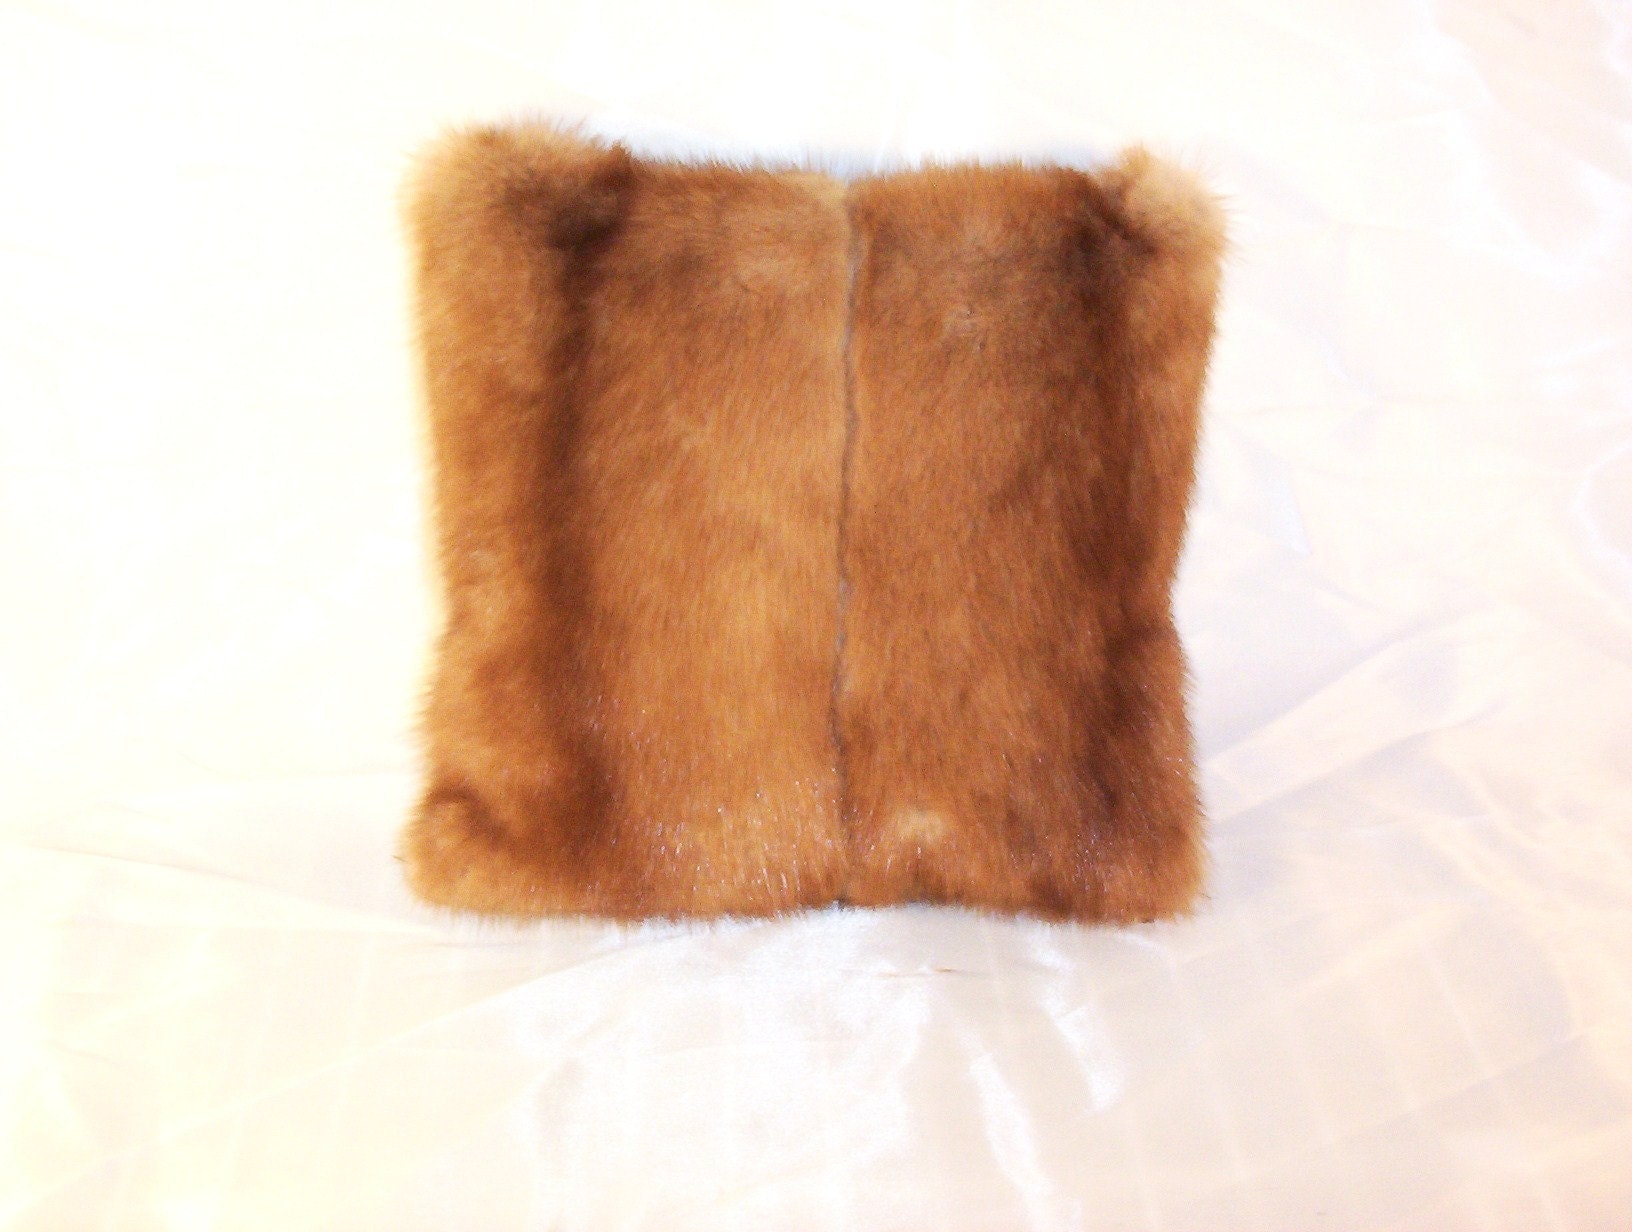
In part 1 I talked about Lee Ann and I having dreams of turning this 5ft high 1920s wardrobe into a giant jewelery box for her vintage jewelery and her handmade fur pillows. Today in Part 2 I am showing what was involved in glueing the veneer back in place that was popping up everywhere. Now I want you to now up front that if this looks like a ton of clamps, it's because it is. However, even though I own a good selection of clamps, I did not have nearly enough for this project. I had to borrow some for the day from a local woodworking guild that I belong to.
Originally the veneer on this cabinet was applied with a type of "hide" glue, derived probably from rabbit hide. It was the strongest glue of it's day. Some craftsman still prefer to use it over other types. I don't. Beyond the thought of raising bunnies for the purpose of glueing wood together, hide glue is somewhat of a pain to use. For this project, I am using Titebond 2, which is a yellow woodworker's glue. You can get it just about anywhere that sells building supplies.
 When doing a glueup, there are a few things to remember. "Clean is King". Make sure your surfaces are clean that you are bonding together. If the surfaces are not clean, take a little sandpaper and scuff off any dirt or old glue. This is a must, especially when you have a project like this one where hide glue was used. Hide glue tends to crytallize when it gets this old and it leaves a gritty residue behind that does not bond very well.
Take your time and examine the entire project before clamping or putting glue on anything. Run your hands over it. Inspect all the structural joints and tap your fingernails across areas of veneer you think may be loose. You will hear a different sound when you tap on a loose spot. By taking your time here, you will avoid unwelcome surprises later. When you are satisfied with your knowedge of what needs to be done, and you have cleaned your glue surfaces with sandpaper, it is time to "test clamp". Get out you selection of clamps and clamp your project together without using glue at this time. This will solve a lot of issues when go to glue it up for real. Notice here that I have put some long strips of wood between the clamps and the cabinet. These long wood strips will keep the clamps from damaging the cabinet when I tighten the clamps. It will also help give me even clamping pressure over the entire veneer piece. I sometimes spray a little water on the wood strip with a misting bottle just before I do my actual glueing and clamping. By doing that, it makes it easier to remove, should I get some excess glue on the wood strip. When I was finally ready to glue everything together, I gently pulled back the loose veneer and ran my glue down into the crevices. I used a piece of old sandpaper, and some veneer scrap to help push the glue where I needed it to go. Make sure that everything has glue. Tighten up your clamps. When you are done tightening, go around and check all your clamps to make sure nothing has loosened up in the process. Retighten as needed. Wipe off any excess glue as you go. It is best to leave everything clamped overnight if possible. When the glue is dry, remove your clamps carefully and inspect as you go. If any of your wood clamping strips have stuck to your project a light tap another piece of wood will ususally pop it right off, as long as you misted it with water before you applied your glue.

With any luck at all you won't have anywhere near the amount of glueing to do that I did with this old wardrobe. This part of the project was really not difficult even though it may have looked overwhelming at the onset. Now that everything is glued, the rest should go fairly quickly. Please feel free to ask questions and post comments. I am always glad to help you if needed. -Rory-


 When doing a glueup, there are a few things to remember. "Clean is King". Make sure your surfaces are clean that you are bonding together. If the surfaces are not clean, take a little sandpaper and scuff off any dirt or old glue. This is a must, especially when you have a project like this one where hide glue was used. Hide glue tends to crytallize when it gets this old and it leaves a gritty residue behind that does not bond very well.


.jpg)


No comments:
Post a Comment