I reglued just about everything on it.
Showing posts with label How To Create A Vintage Jewelery Cabinet Series. Show all posts
Friday, April 2, 2010
How To Make A Vintage Jewelery Cabinet-Before and After Photos
I reglued just about everything on it.
It was pretty much a disaster.
I wanted it to have some "bling", and be really "over the top", so I started with a base coat of silver. I applied it with a spray can. I did this to the entire exterior of the cabinet.
I then painted the cabinet white with a brush-on flat interior latex paint. I used a very dry brush, letting the silver show through quite a bit.
The interior was lined with cedar, so I just sanded it clean. I also added a shelf, which I painted to match the exterior. I painted the hardware silver, then rubbed it with a papertowel while the paint was still wet. This gave the hardware a sort of dull pewter look.
When the coat of white was dry I added some white glaze to bring out a little aged looking gray coloring. The glaze softened the silver.
I then used some brush on siver gilding paint to add a little "pop" to the molded edges of the doors and trim. I used a fairly dry artist's brush to do this. I wanted to give it the effect of very worn silver gilding on the edges of the cabinet to "frame" everything in. Above is the finished result with doors closed.
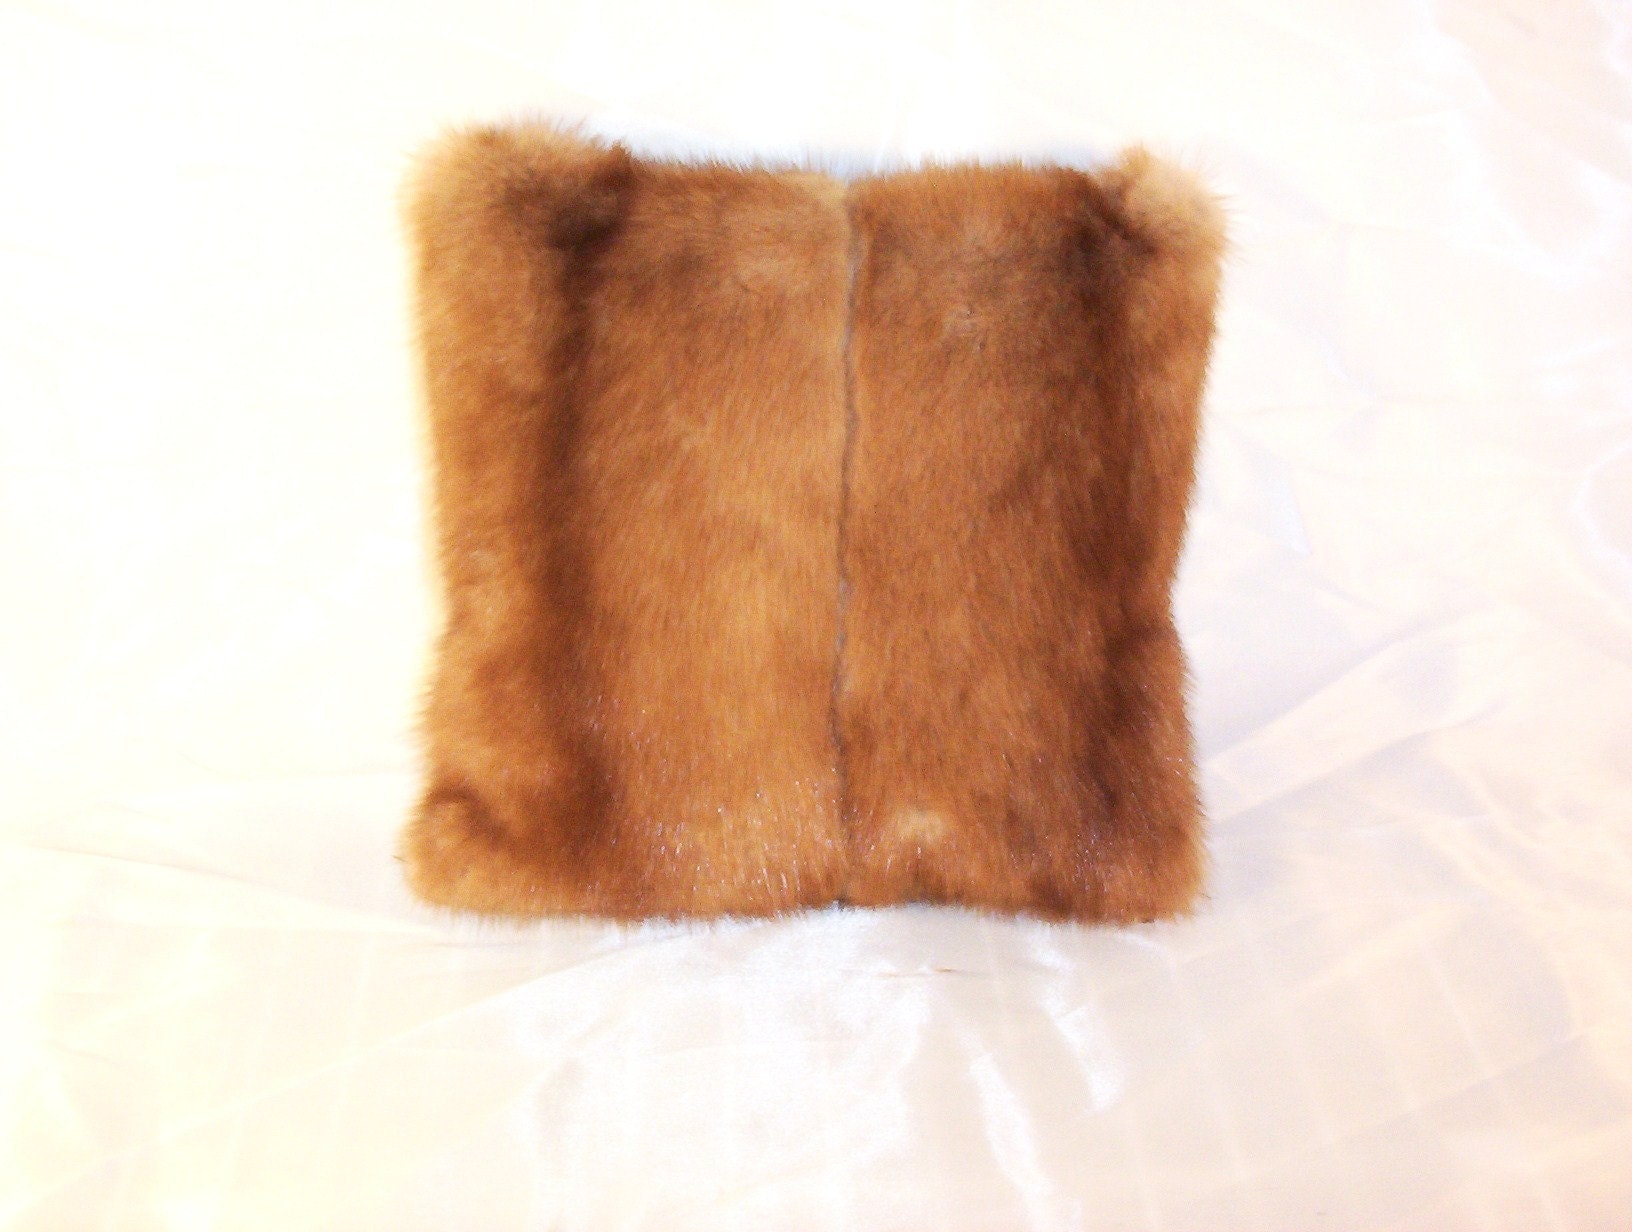
Here is the finished product with the doors open as Lee Ann and I displayed it at the Charlotte ICA show. We did not have time to line it with satin like we wanted to, but I think displaying it with mink and fox pillows (made from repurposed vintage fur coats) tended to soften the hard surfaces and give this old armoir a rather luxurious and indulgent look. What do you think?
Sunday, March 14, 2010
How To Make a Vintage Jewelery Cabinet - Part 2
In part 1 I talked about Lee Ann and I having dreams of turning this 5ft high 1920s wardrobe into a giant jewelery box for her vintage jewelery and her handmade fur pillows. Today in Part 2 I am showing what was involved in glueing the veneer back in place that was popping up everywhere. Now I want you to now up front that if this looks like a ton of clamps, it's because it is. However, even though I own a good selection of clamps, I did not have nearly enough for this project. I had to borrow some for the day from a local woodworking guild that I belong to.
Originally the veneer on this cabinet was applied with a type of "hide" glue, derived probably from rabbit hide. It was the strongest glue of it's day. Some craftsman still prefer to use it over other types. I don't. Beyond the thought of raising bunnies for the purpose of glueing wood together, hide glue is somewhat of a pain to use. For this project, I am using Titebond 2, which is a yellow woodworker's glue. You can get it just about anywhere that sells building supplies.
With any luck at all you won't have anywhere near the amount of glueing to do that I did with this old wardrobe. This part of the project was really not difficult even though it may have looked overwhelming at the onset. Now that everything is glued, the rest should go fairly quickly. Please feel free to ask questions and post comments. I am always glad to help you if needed. -Rory-
Thursday, March 11, 2010
How To Create A Vintage Jewelery Cabinet - Part 1
Lee Ann and I found this wreck at an antique mall last month. It is the remains of an old cedar lined wardrobe that dates back to the 1920s. We were not sure what to do with this piece at first. We discussed making a bar out of it. We also thought it might be ok to house a flat screen tv. Those ideas are fine but we wanted to do something a little more fun and flashy. So here is what we decided to do. We are going to turn this 5 ft tall wardrobe into a giant vintage
jewelery box! It will feature doors that are padded and upholstered on the inside, because we want to be able to pinn a collection of vintage broaches to the inside of the doors. I will be installing shelves so that Lee Ann can store a few of her mink throw pillows inside. We also will be upholstering the bottom drawer with white satin and adding french lavender to the padding so that she has a place for maybe some antique lace. The idea is to upcycle this old wardrobe into a showcase for vintage jewelery and frills, that will turn some heads. And I am going to do a series of posts showing you exactly how we accomplish it.
But there is good news. It's fixable. It has all the original hardware. The cedar lining is intact. And, it is a really cute cabinet.
Over the next few weeks I will occasionally post an update of how this project is going with some tips and advice on how you can create your own vintage jewelery cabinet. This is going to be a really fun project. Looks like I better go check on my supply of glue.
-Rory-
Subscribe to:
Comments (Atom)


