

In case you don't remember what this old cabinet looked like, here is the before picture.

I reglued just about everything on it.

It was pretty much a disaster.

I wanted it to have some "bling", and be really "over the top", so I started with a base coat of silver. I applied it with a spray can. I did this to the entire exterior of the cabinet.

I then painted the cabinet white with a brush-on flat interior latex paint. I used a very dry brush, letting the silver show through quite a bit.

The interior was lined with cedar, so I just sanded it clean. I also added a shelf, which I painted to match the exterior. I painted the hardware silver, then rubbed it with a papertowel while the paint was still wet. This gave the hardware a sort of dull pewter look.

When the coat of white was dry I added some white glaze to bring out a little aged looking gray coloring. The glaze softened the silver.

I then used some brush on siver gilding paint to add a little "pop" to the molded edges of the doors and trim. I used a fairly dry artist's brush to do this. I wanted to give it the effect of very worn silver gilding on the edges of the cabinet to "frame" everything in. Above is the finished result with doors closed.

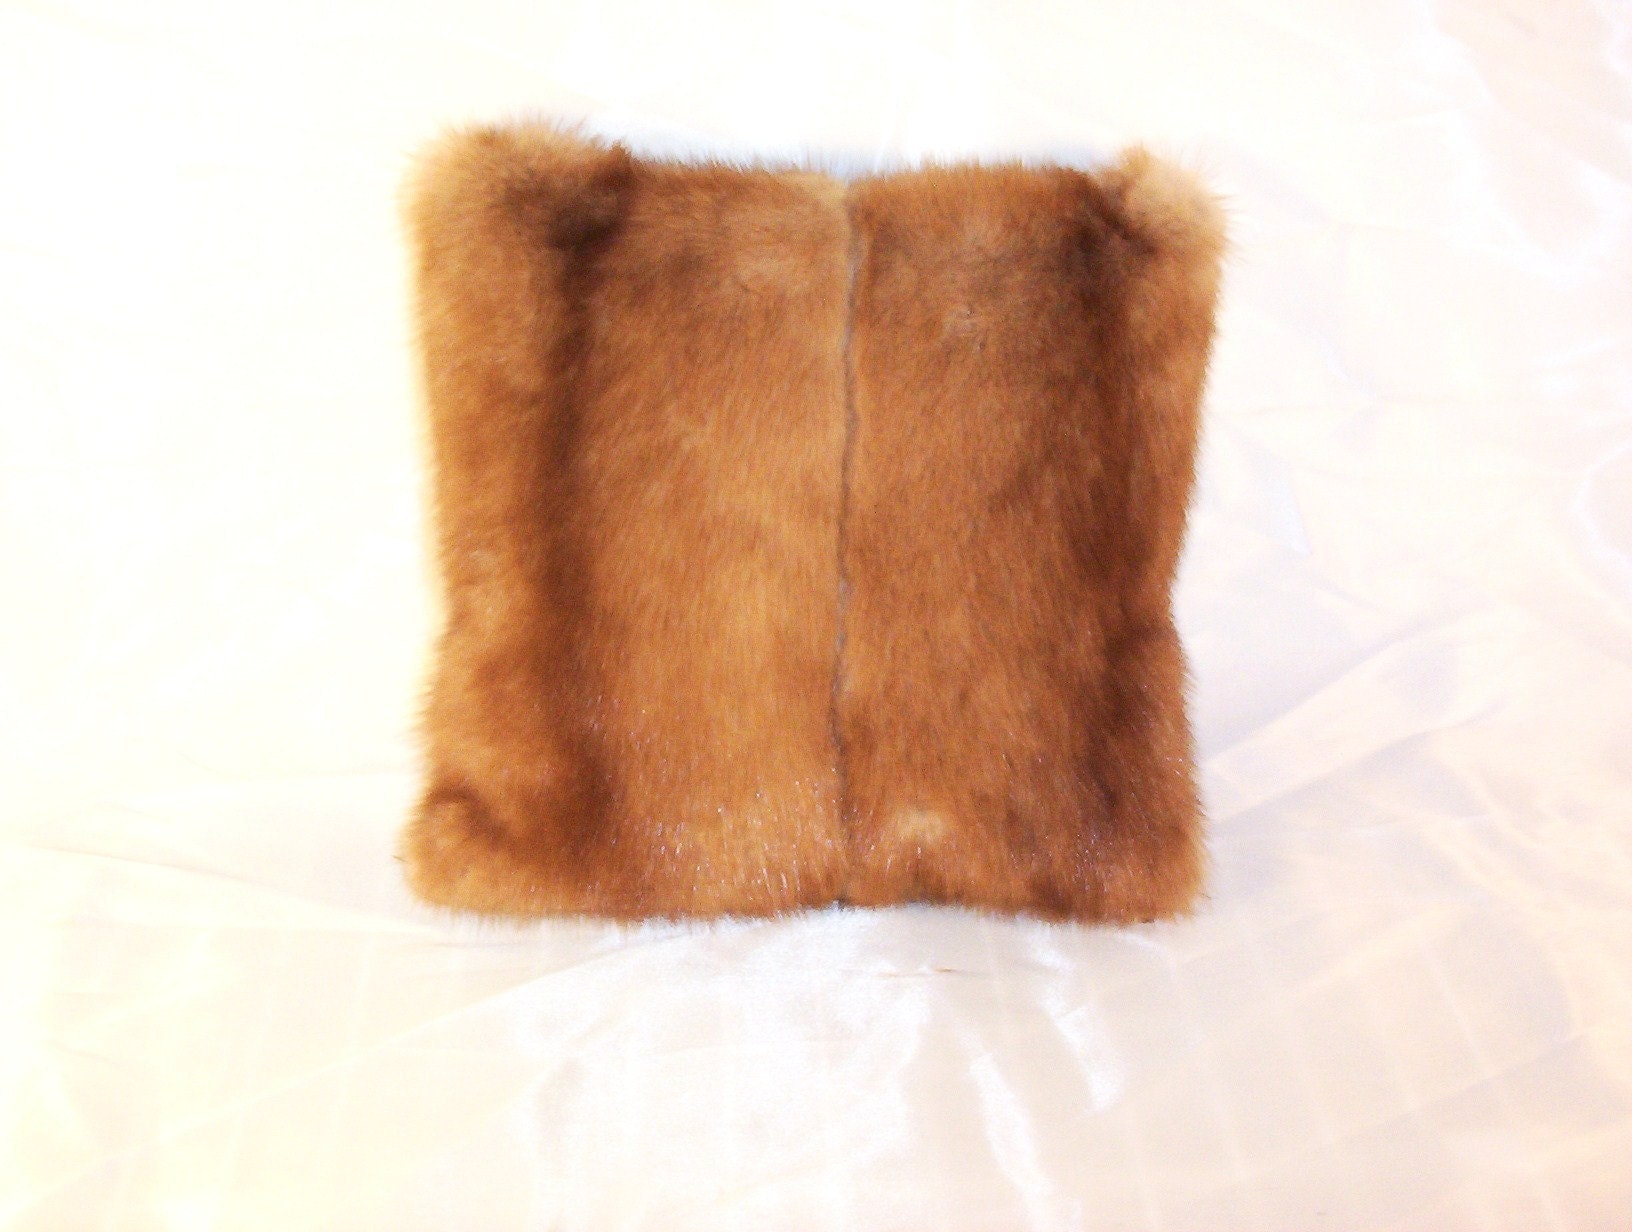
Here is the finished product with the doors open as Lee Ann and I displayed it at the Charlotte ICA show. We did not have time to line it with satin like we wanted to, but I think displaying it with mink and fox pillows (made from repurposed vintage fur coats) tended to soften the hard surfaces and give this old armoir a rather luxurious and indulgent look. What do you think?


.jpg)


30 comments:
I think it turned out great. Silver always seems scary but it looks excellent with the distressing. I might have to incorporate silver in a future project.
great job! I hope your show is/was great! Not sure when it's over. I can't believe you have time to surf the internet and go blog hopping!
thanks for visiting and taking the time to comment on my "antiques" sign.
Have a great weekend!
can't wait to hear how your show went.
gail
it looks so glamorous with all the added bling..you truly do nice work.;) have a wonderful weekend..and enjoy.;)
Hi Rory- beautiful project! I'm so glad you stopped by and followed my blog! I have really enjoyed yours, too- I love re-doing things! I'm looking forward to reading more!
Pretty fun project. I actually had plans for some padded doors lined with satin and filled with french lavender, but time didn't permit it before the antique show. It has not sold yet, but there has been a lot of interest in it. I may go ahead and do the satin lining if it doesn't sell. I wouldn't mind showing everyone how I go about that. Thank you all for your comments.
Rory
This just such a fun, chic and glamourous project! I love the finish!
Pop over for a visit sometime..,
Have a blessed and wonderful Easter!
Hugs from Wanda Lee
What a WONDERFUL job. Your love for the project shows. Thank you for sharing
Your cabinet turned out really lovely. When I first read silver, I was thinking 'oh - modern and contemporary'. As I read more and saw your progress, you transformed that cabinet into a lovely aged piece of furniture. Nice job!
It looks so good! I think I need glazing 101! Great work!
This is beaautiful! Great job.
Thanks for joining Get Your Craft on Thursday. Please join me next week for another wonderful party!!
Please stop by next week I am having guest over each day and I would love for you to tell them HI!
I love it! It looks like you really did an awesome job on it!!
Brenda
Great tips and how-tos!
I'm a follower, and thanks for visiting my blog, Rory!
xxoxoxo
Sandy
Wow it looks amazing... you did a fabulous job on that piece... it will be intereting to see the satin on the doors if it doesn't sell... I can't believe someone didn't scoop that up already. Great job... Good luck with your show.
Hugs, Deb
What a gorgeous re-do! I love it! Very glam. :-)
Have a wonderful Wednesday!
Anne
Hi, Rory. It was fun to see the "before" pics of this piece here, having seen the after in person. The pictures just do not do it justice. It is gorgeous in person!
I loved meeting you and Lee Ann at the show. When you get time, pop on over to the cottage to see the mention I did of your booth.
~Liz @ the Brambleberry Cottage
It is beautiful! Wow, I am jealous of your talents! Thanks for linking up to Be Inspired this week.
Chelsea
I love the bling of the silver paint! What a fabulous way to display your pillows! : )
The use of silver in faux finishes has really grown on me. When I first started using silver on different projects I was always a little fearful of it looking cheap and shiny. But I found that when using a soft white glaze like I did on this cabinet, the silver turns diffent shades of pewter, silver, and gray. After I have appplied the glaze, I go back and add small amounts of silver gilding paint with a very dry brush to hightlight areas that I think need it. It really makes the whole thing "pop". I am glad you all liked it so much. Right now I am using this cabinet in my dining room, for our crystal decanters and table linens.
Rory
Looks wonderful...thanks for the step by step...you make it look easy!!
that looks amazing! i want to try that technique on a piece- just need to find the right piece. it worked beautifully with the glamorous shape of your cabinet. awesome job! i would love if you stopped by my blog at www.primitiveandproper.blogspot.com
Wow, that is gorgeous! It's amazing what a difference paint makes!!!
Great job on the cabinet. What did you use to glue the vaneer down? I'm always put off when I need to do that job and it stopps me in my tracks. Thanks.
~ ~Ahrisha~ ~
Ahrisha, Thank you for stopping by. I am a fan of Titebond 3. It is a yellow woodworking glue. You can find it at most home improvement stores. I prefer the 3 version over the 2 or 1, because it is a little thinner, and I can get it under the veneer easier. The 3 version also does not set up quite as fast, giving you more time to reposition clamps. It is waterproof when dry, and is very strong. Have a great weekend.
Rory
Wow, now that was some serious clamping! But very worth it--gorgeous! Thanks for sharing!
GORGEOUS! GREAT job!!
Thanks for linking up to I'm Lovin' It! Have a GREAT weekend!
I still love this! It is so beautiful...
Thanks for joining Get Your Craft on Thursday! Please join me next week for another great party!
That is gorgeous!
Very cool! Props on the silver! If you get a chance check out my blog at http://shabbychictreasures.blogspot.com/ I am giving away a darling teapot for the month of April! Hugs, Olivia
Stopping by a bit late from Follow Me Friday at Trendy Treehouse. I'm now following your blog! Hope you can come by and follow me back. :)
http://tweepoppets.blogspot.com
I have a couple giveaways going on right now - one is for a $10 shopping spree at the Sweet as Pie Creations Etsy shop, and the other is for a handmade greeting card, a $5 Starbucks gift card, and a surprise! I hope you'll come enter! :)
I love how this turned out. So great! Thanks for sharing at 'Look at me, I'm SO Crafty!' at Fun to Craft!!
Post a Comment